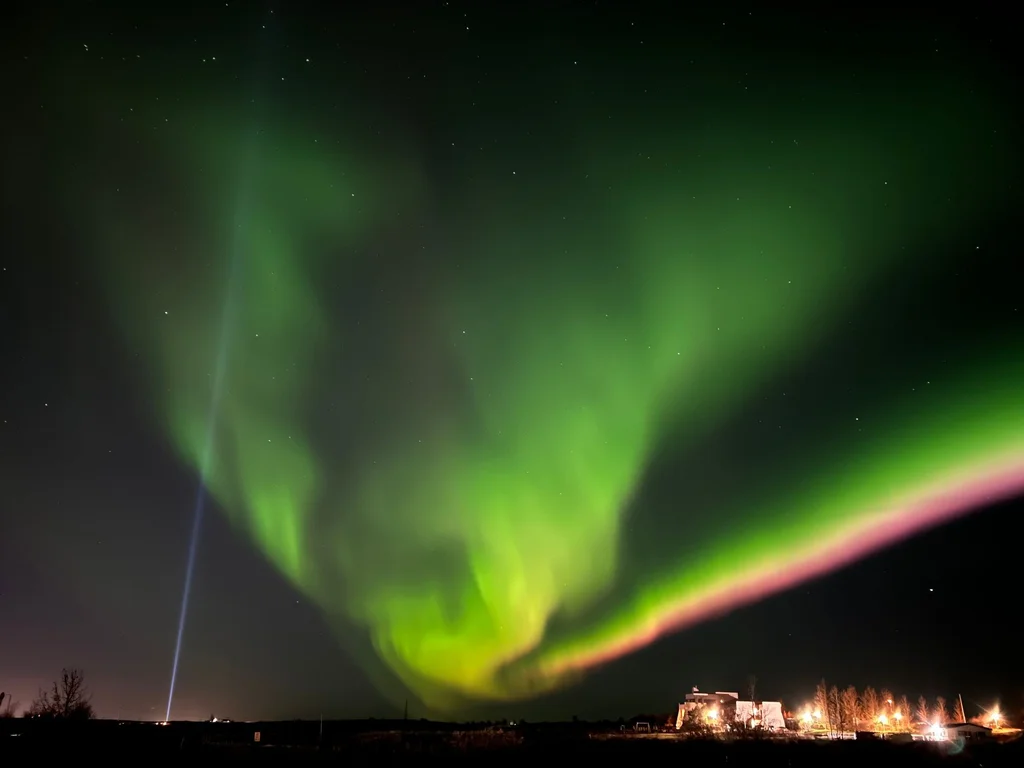
We are blessed that currently, technology reached the point where we can take amazing night photos with smartphones that cost a fraction of a professional camera and that are lightweight. Although no smartphone camera could ever be compared with a professional camera, the differences often go unnoticed by the untrained eye.
Aurora Borealis is generally visible above the Arctic Circle, however in some exceptional situations it is visible at smaller latitudes, and you can notice it in the UK or even Germany. However, the chances of seeing the Northern Lights are increasing considerably the more you go to the North. Ideal locations for seeing the colored sky in the winter months are Iceland, Canada, Finland, or Northern Norway.
How can we take a great photo with our phone camera? Nowadays, most smartphones can take a decent night photo, no matter if it is an Apple, Samsung, Huawei, Motorola, Sony, or Google phone. They have powerful processors and sensors that can capture a lot of light in low-light conditions. However, there are a few things that you need to know to be able to take a great photo of the Northern Lights.
Location is the most important
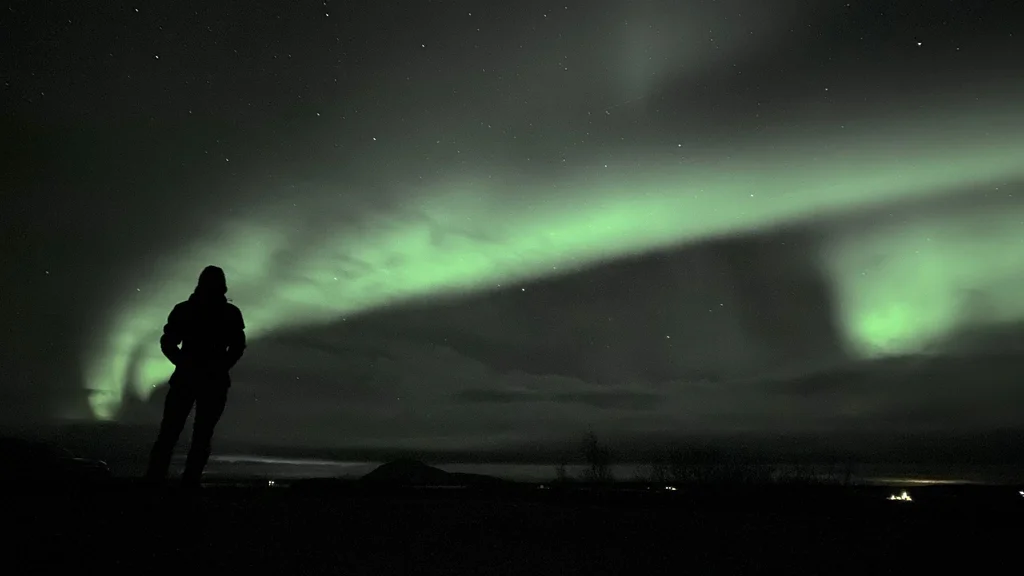
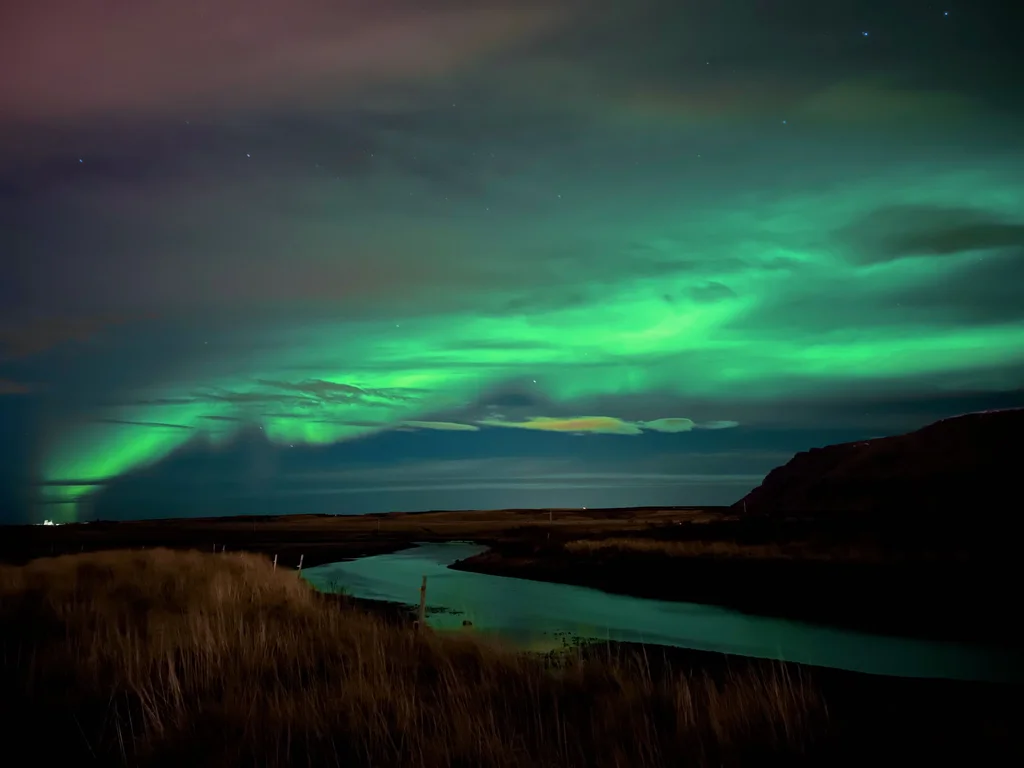
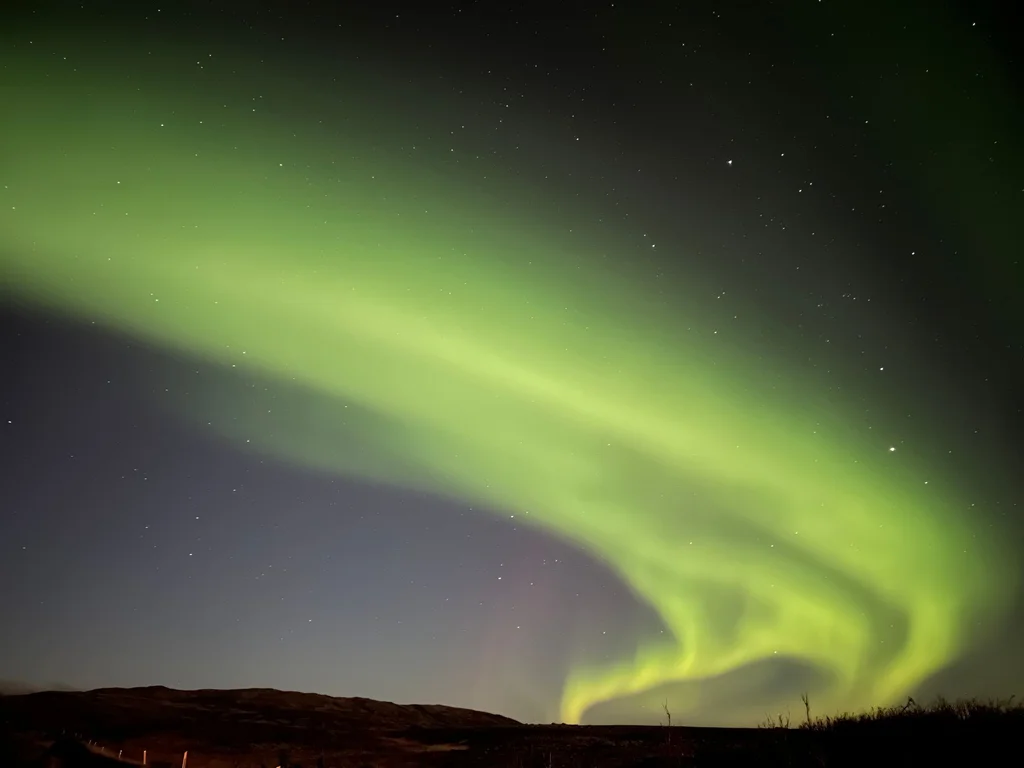
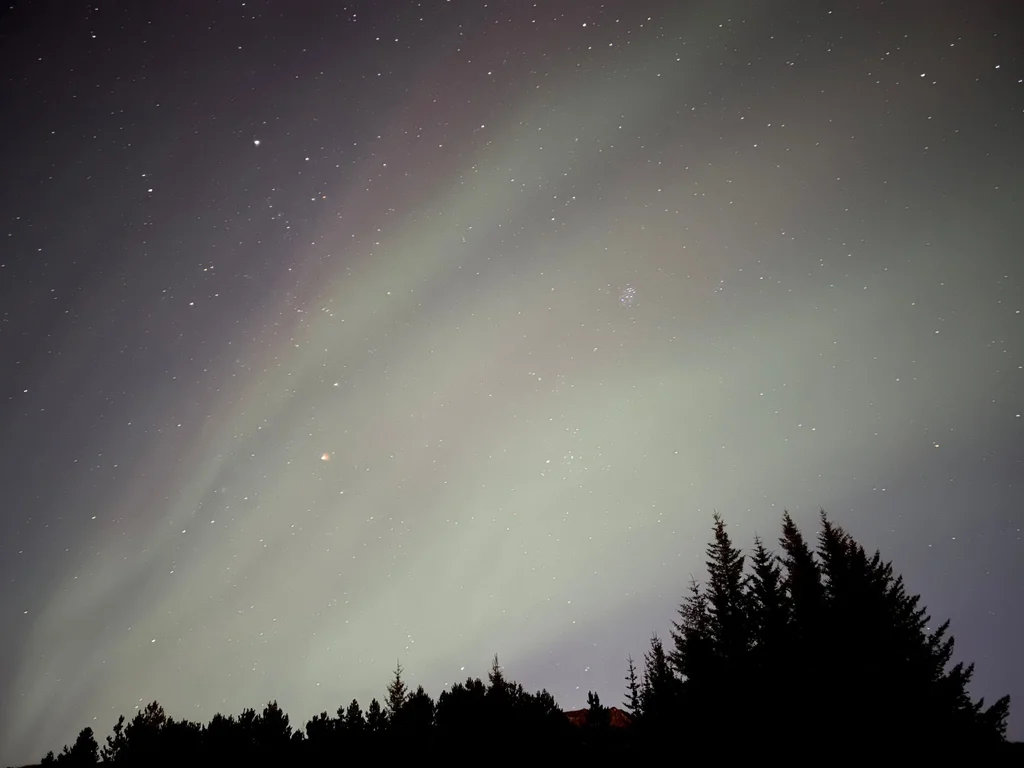
To take a good photo of the Aurora, first of all, you need to find a place that is dark enough - ideally, you would be in an area with no ambient light pollution and a super clear sky. That will make it easier to point the phone to the sky and use the right settings so that you capture a photo of the Northern Lights. Being on a field outside the city is usually where the most amazing Nothern Lights photos are taken - you won’t be able to capture that stunning photo by staying in the middle of Reykjavik and waiting for luck to strike you. If you want to take stunning photos, it is best to search for a spot that has something in the Northern direction so that it gives the photo a better composition. A good subject would be a mountain, waterfall, or even a simple tree standing alone in the lighted sky (when it’s not too windy).
!Pro Tip: stay as far as possible from any artificial sources of light such as highways, lighthouses, or building lights because they will create brighter photo spots that will make the aurora less visible when taking the photo with your phone camera.
Use the right accessories
Second, make sure that you are fully familiar with the camera of the smartphone that you are using. It is going to be very cold outside when you search for the Northern Lights. The last thing you want is to spend time in the cold trying to figure out how to change the night settings of the phone.
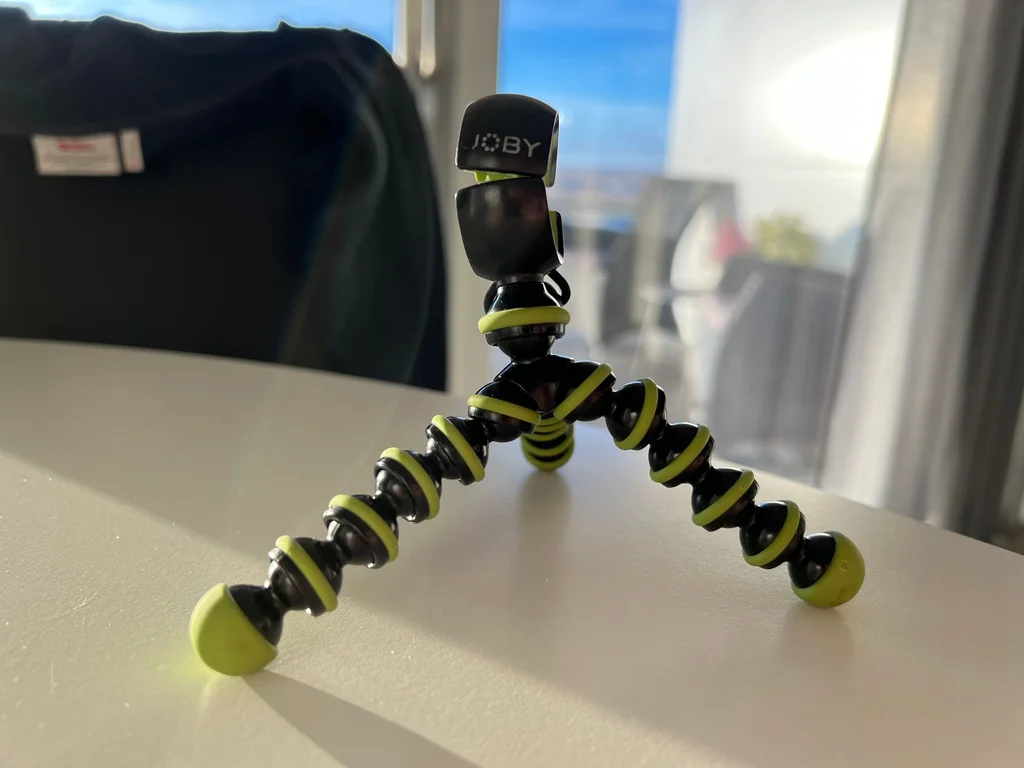
It is good to have with you a tripod or find a way to keep the phone still while taking the photo. We have been using a very basic $10 tripod, but a couple of times we forgot it at the accommodation, and we had to improvise. You can use rocks, tree branches, or some clothes to support the phone while taking the photos.
Lesson learned: Initially, we used to stay in the car and put the phone on the tripod outside. Unfortunately, because we had the engine running to keep us warm, the photos had a lot of jittering and we lost some amazing shots. If you put the phone on top of the car, make sure that you turn off the engine so that you don’t get any vibrations.
Also, it’s important to fully charge your phone before going out to hunt the northern lights because they tend to discharge quicker in cold weather. Additionally, using the camera consumes a lot of battery and you don’t want to have just 10% of it left when the lights turn on the sky and put on a spectacular show. We always have with us a fast-charging power bank to charge the phone in a matter of minutes when needed.
Adjusting the camera phone settings
As already mentioned, it is very important to learn all the features of the camera before heading out to photograph the Northern Lights. I might stress out about it, but this increases a lot your chances of taking awesome photos of the Aurora. While each phone’s settings might differ a bit, make sure you know where you can find the following settings.
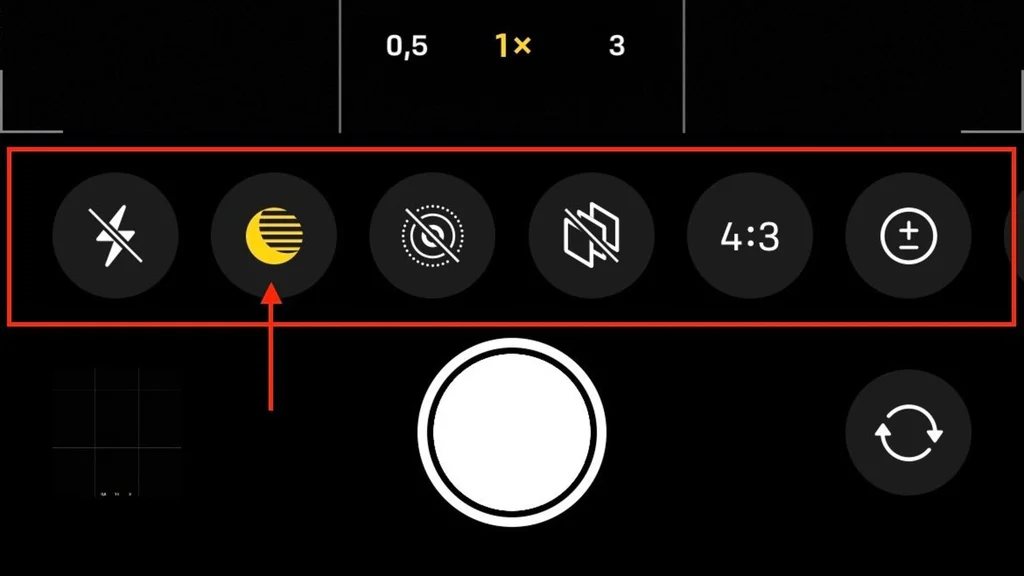
Shutter Speed / Exposure Time
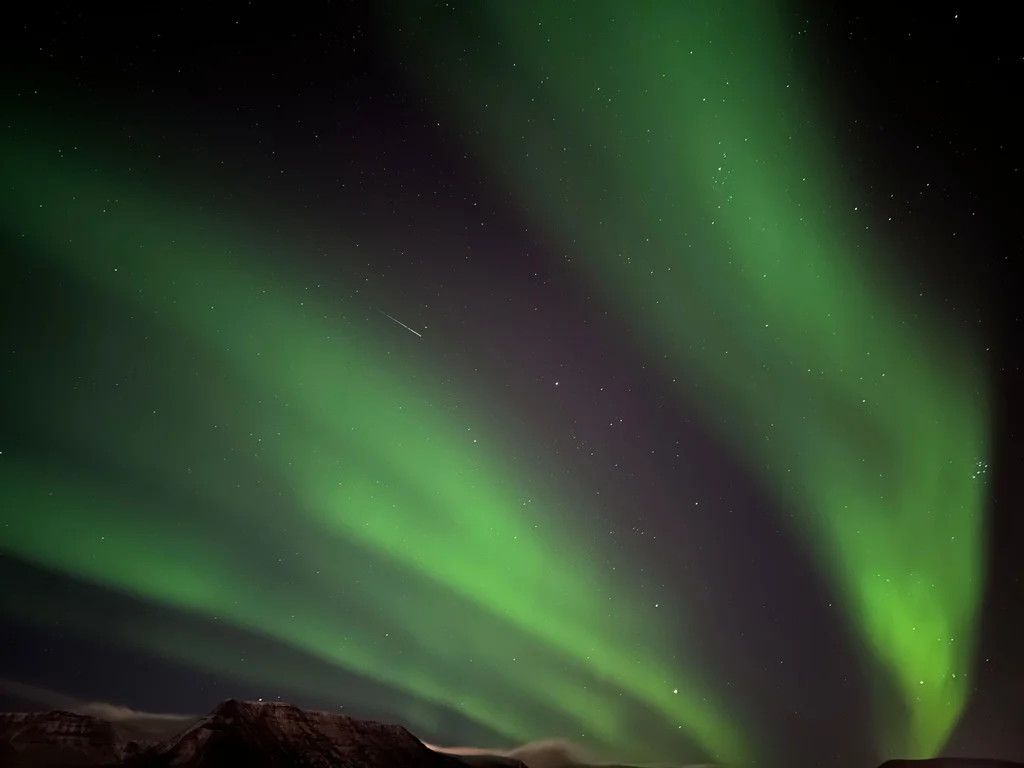
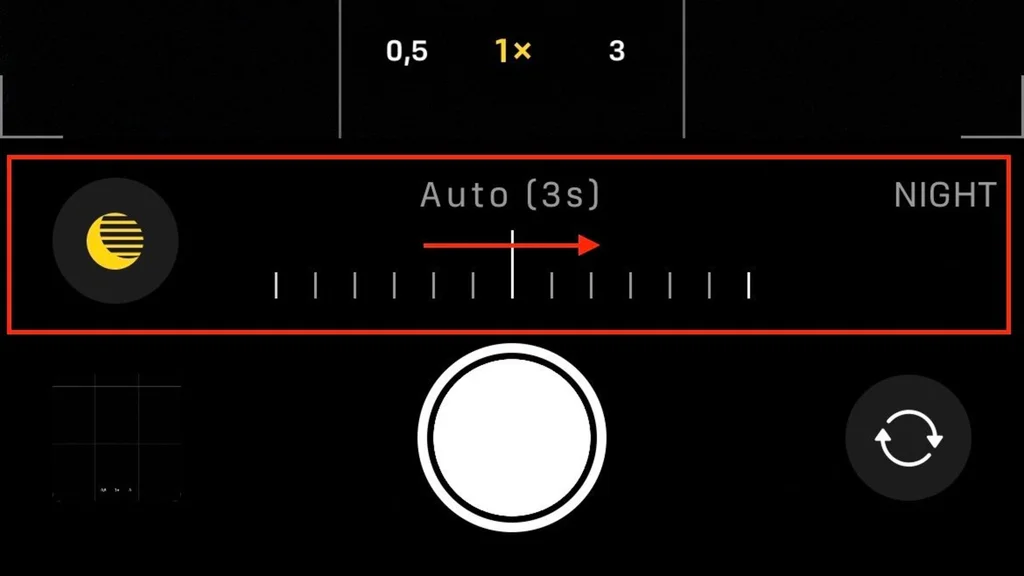
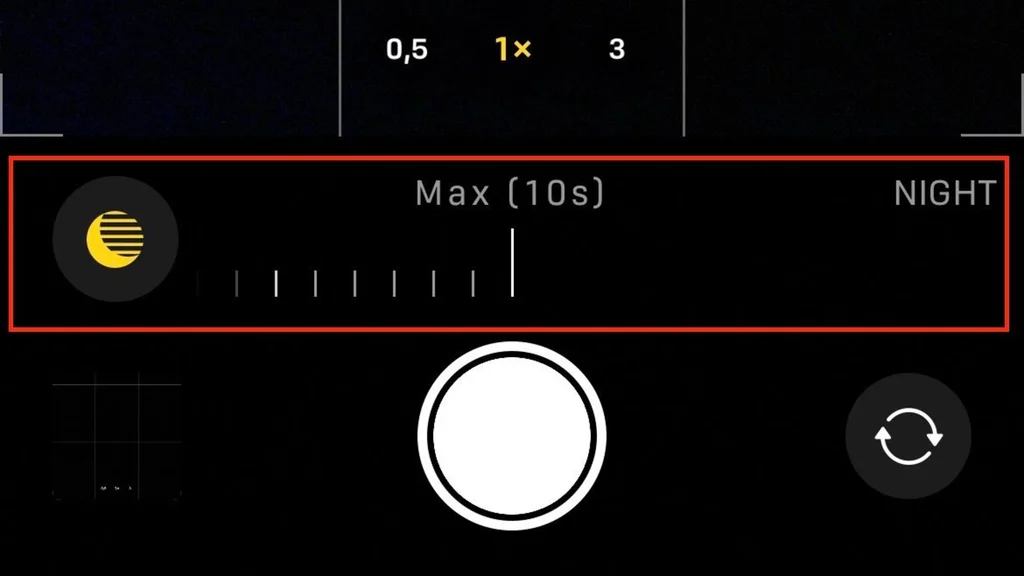
It tells the camera how much the smartphone should keep the lens open to take in light for capturing the photo of the sky. For taking photos of the Aurora, the longer the lens stays open the better (except on very bright nights). We have been playing with multiple values, however, we tend to the get best results when we use a value around the threshold of 30 seconds.
If you are lucky and the Northern Lights are very bright, then you can use smaller values between 10 seconds and 20 seconds for best results. Going under 10 seconds will give you a glimpse of the Northern Lights, but the photos won’t be as qualitative as the ones taken with longer exposure times.
Remember the tripod? Here is where it comes in full power. Without a tripod or a stable camera, it is impossible to hold your phone still for 30 seconds while pointing it at the sky to capture the Northern Lights show. We somehow manage to get decent photos when taking night photos with a shutter speed of 10 seconds, thankfully due to the powerful post-processing power of modern smartphones. However, they are really bad compared to what can be achieved when using a tripod.
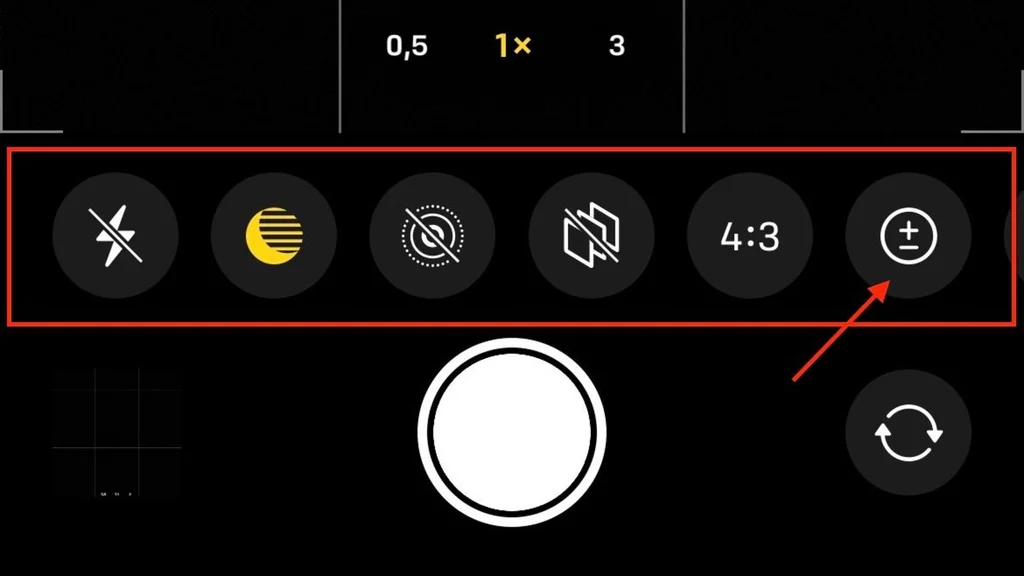
Exposure Adjustment / Compensation
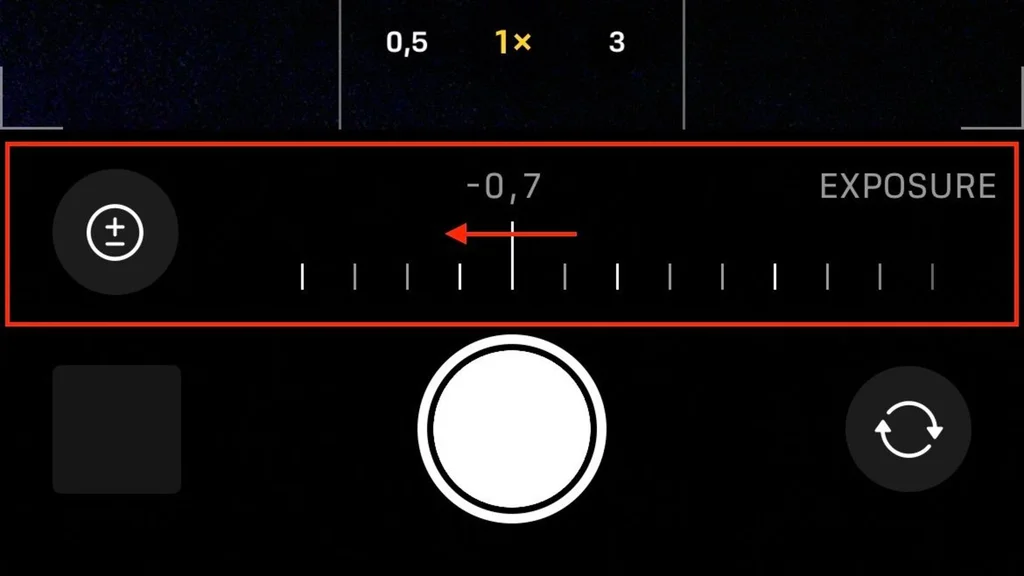
This setting prevents the photo from coming out overexposed or losing significant details and quality. You want its value to be as low as possible to preserve the details of the Aurora but dim the effect of other light sources around.
While it might sound similar to the previous setting and somehow confusing, in most of the cases you might not need it. We use exposure adjustment when we cannot find a place that is dark enough and we have to compensate for the bright surroundings. That happens a lot in the winter when there is a lot of snow and it reflects the light coming from the stars. Another situation when this setting is very useful is when there is a bright moon in the sky. If you still have time to plan your trip for the Northern Lights, make sure that you check the moon phases and avoid going out when the moon is full or close to full.
There is no specific best value for exposure adjustment/compensation and we always recommend trying different values. We start around -1 or -0.5 and do some test shots to see how we might get the best results. It’s a lot of trial and error, but after trying it a few times it becomes natural and you do it much quicker.
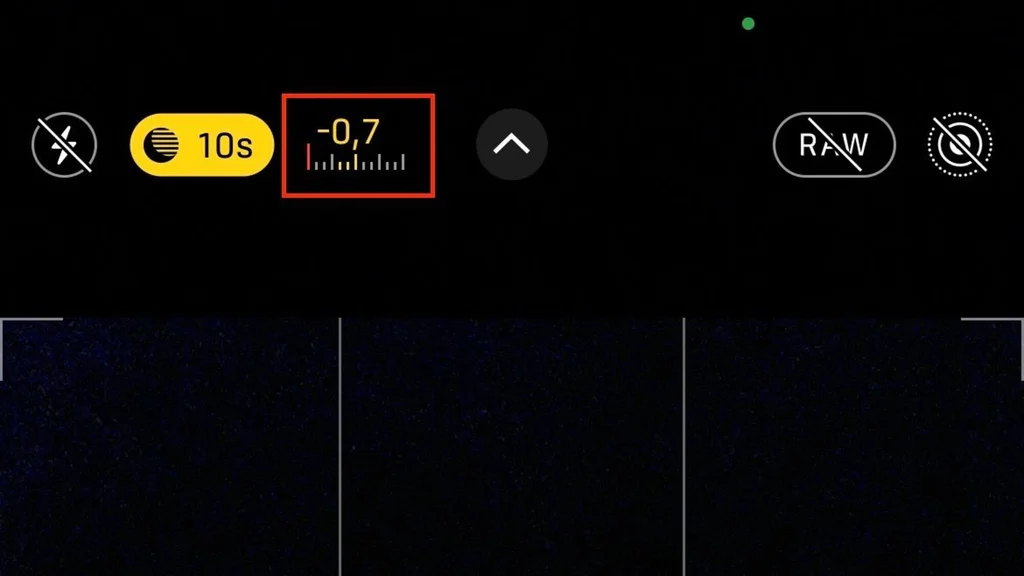
If your smartphone has an option to preserve the last settings, it is helpful to enable it because you can take several shots without having to adjust the exposure again with every single shot. However, make sure that you don’t forget to reset it back to 0 at the end of the night so that the next time you take photos in bright environments your photos won’t become too dark.
Focus (Manual or Auto)
For the best Northern Lights photography you want to set the focus to infinity. That means that you will get your smartphone to focus on the elements that are the most far away: sky, stars, and the Northern Lights. Most phones do a decent job at adjusting the focus automatically, however for the best results you want a manual focus for full control.
If you decide to capture something else in the photo beside the Aurora, then the focus would go better on the other subject (e.g. mountain, tree, waterfall). This way you will get a crisp photo of the main subject and the Northern Lights dancing in the background. It is important to have a still subject to get a good shot. We tried a few times to take photos of a tree on a windy day and the results were not share-worthy.
ISO Setting
Some camera phones might offer the option of adjusting the ISO setting. While this is not as good as controlling the shutter speed or exposure adjustment, we can take benefits from it as well in night photography. In simple words, ISO is a number that tells the camera to change the brightness of the photo so that we can photograph in low light conditions.
When you increase the ISO number, the photos will become brighter and brighter. As we are taking night photos of the Northern Lights, we could use ISO values in the range of 800 - 3200. What you should note is that when you increase the ISO number the quality of the photos tends to decrease. The more performant the camera, the higher the ISO number you can use without losing too many details.
For this very specific reason, I prefer to keep ISO as low as possible and use the other settings (shutter speed and exposure adjustment) to control how the camera works in low-light environments. In such a way, I can get better photos of the Northern Lights and still capture many other details in the photo.
What phone do I need to photograph the Northern Lights?
Nowadays, most of the mid-price range smartphones can take decent photos of the Northern lights. As you can guess, the more performant the camera, the better the results of the photos. A 24-megapixel lens should be good enough to capture the Aurora on a good day if you manage to set correctly the options explained above. Another number that you might look at on your phone is how large the lens is - the larger the lens more light will hit the camera sensor and you can capture more details in low light conditions such as taking photos of the Aurora.
It doesn’t matter what brand your phone is or what operating system you have (Android or iOS). I have seen amazing photos of the Northern Lights from friends who have Huawei, Xiaomi, or OnePlus phones. Many times it matters more how to set the camera settings rather than having the most expensive iPhone, Samsung, or Google smartphone.
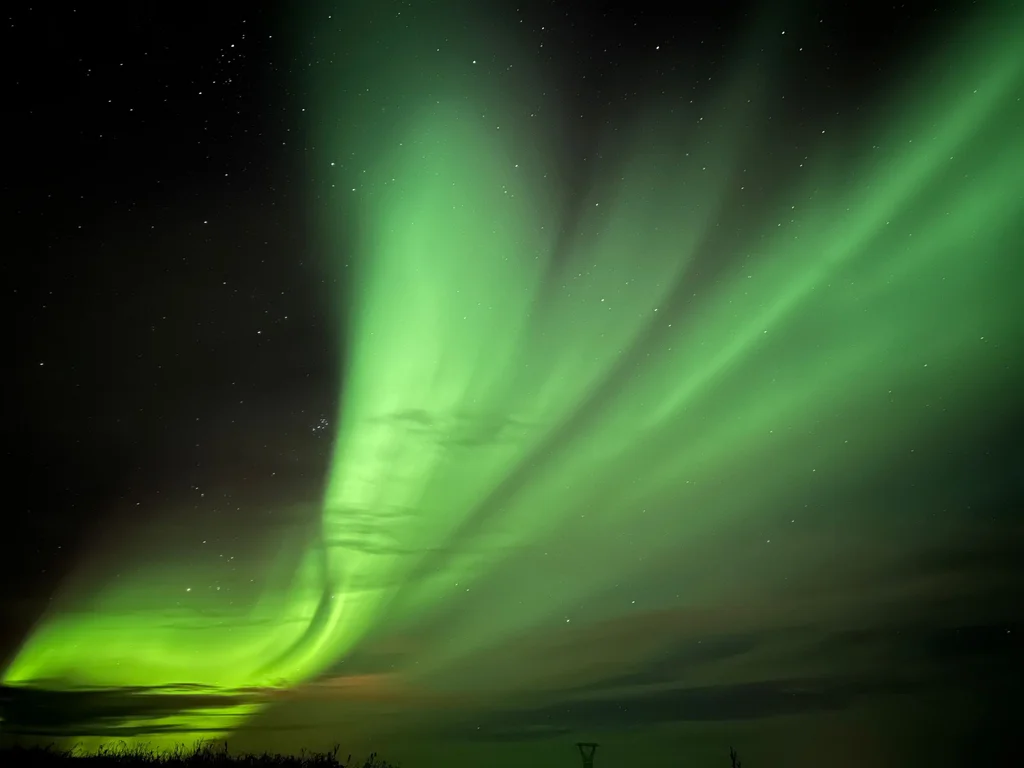
The sky conditions and how bright the Northern Lines are matter more than if your phone is a Samsung or an iPhone smartphone. You should always aim for very clear nights when there are little to no clouds and when there is no light pollution from ambient sources.
Now that you know more about the settings on your phone, you are closer to taking stunning photos of the Northern Lights with your phone camera. If you want to learn more about chasing the Aurora, make sure you take a look over the following article.
 Travelfoss
Last year, we’ve been following the Northern Lights for more than 20 consecutive days in Iceland and we learned a lot about how to predict when we might have higher chances of seeing an outstanding show in the sky. While most of it is a pure guess, when searching for the lights, there are small details that might help you head to the right location - many times it is just 5 kilometers away.
Travelfoss
In the end, make sure that you keep yourself warm while going out to watch the spectacular Northern lights and have tons of fun!
Travelfoss